
Creating posts
In this post, we’ll see some examples of how to create technical posts that include Python code, explanatory text, and notes about your learnings. We’ll go over the primary methods that you’ll use to embed content in your posts.
Since your primary homework posts will be based on previous work you did in a Jupyter notebook, you’re likely to want to know how to easily convert a Jupyter notebook into a blog post. This helpful guide outlines the main steps.
File Format
Your posts should be placed in the _posts/ directory of your website. All posts should have extension .md for Markdown. The filename must be of the form YYYY-MM-DD-my-title.md, where YYYY-MM-DD is a date such as 2021-04-01. The date is somewhat arbitrary, and is used primarily to determine which posts are shown first on your blog. However, note that specifying a date in the future might cause your post not to appear because Jekyll will treat it as “not yet published.”
Markdown Styling
You can use Markdown to style basic text, much as you do in Jupyter Notebooks. For example, you can create italic and bold text using *. You can also make headers like
this one
by using some number of # symbols before your text. Fewer # symbols makes larger headers.
You can also make
- numbered
- lists
and
- bulleted
- lists.
Both of these support arbitrary nesting:
- Make tea.
- Boil water.
- Place tea bag in mug.
- Choose mug.
- Choose teabag.
- Pour water in mug.
- Read a book.
Math
If you are familiar with the \(\LaTeX\) typesetting system, you can use many standard commands by enclosing them in double $ symbols. You can make both inline math like \(f(x) = e^x\) and display math like
\[\sum_{i = 1}^{\infty} \frac{1}{i^2} = \frac{\pi^2}{6}.\]Code
There are two main ways to insert code in your posts. When talking about a short concept, like the np.random.rand() function, you can type back ticks like this: `np.random.rand()`.
To create a larger block of code, use three consecutive backticks ``` to both open and close the code block. If you place the word python immediately after the opening code blocks, you’ll get attractive syntax highlighting:
def f(x):
    """
    A cool function that multiples an input x by 2.
    """
    return 2*x
You can leave off the python syntax highlighting in order to distinguish between code and code output, which is usually not highlighted:
print("to boldly go")
to boldly go
Images
You can and should include images in your posts, especially in cases where you have created a data visualization. If the image is already available online, you can link to it using the syntax :

In cases in which your code produces an image, you should save the image (such as via plt.savefig()), then save it in the images directory. You can then embed it directly under the code that generates it on your blog post, using the code
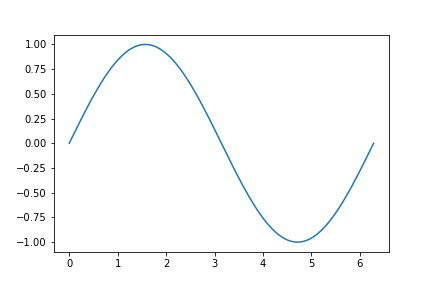
For example, here’s how to show code along with the plot that it generates.
import numpy as np
from matplotlib import pyplot as plt
x = np.linspace(0, 2*np.pi, 1001)
y = np.sin(x)
plt.plot(x, y)

To create this example, I first ran the code in a Jupyter Notebook, and added the line plt.savefig("image-example.png") to save the result. I then moved the file image-example.png to the images/ directory of my blog. Finally, I added the line

immediately beneath the code block.